Now that the not-so-humble smartphone can take such dazzling photos, it's super-easy for anyone to take a decent photograph. The built-in cameras that come with our mobile devices are sharp enough for most day-to-day snaps – but if you want to elevate your photography further you'll need to take the leap and invest in a DSLR (or at least a decent compact camera).
But just snapping away with your new kit may not be enough to capture the professional quality you're expecting (even if you're using one of the best cameras around). To make something truly special, you'll have to abandon the automatic settings and learn a bit about your camera's manual settings. And is where this excellent infographic comes in, full of tips and tricks to inject some excitement into your photography.
This infographic demystifies your camera's manual settings Auto settings are fine, but they can be limiting – leaning towards sharp, well-focused imagery, which can get boring. This infographic from Skylum is just the thing to help you get to grips with the three most important things you need to know about manual camera settings.
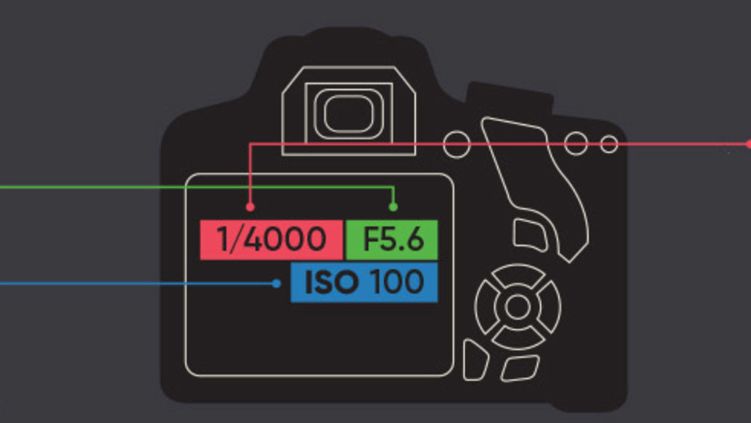
Digital photography is all about balancing three settings: the aperture, which controls how much light gets into the camera; ISO, the sensitivity of the sensor to light; and shutter speed, or how fast the shutter opens and closes. This infographic explains them all, as well as providing some excellent tips on how to use them to create all those lovely effects you see in pro photography without having to rely on fiddling with photo apps afterwards.
It's all about balancing your aperture, ISO and shutter speed So if you want an ethereal bokeh effect, you'll need a wide aperture of at least f/4 to create a narrow depth of field, a fairly low ISO and a shutter speed of at least 1/60; Skylum also suggest keeping a good distance between the subject and the background, and having a light source in the background to create that blurred look.
On the other hand, for a sharp action shot, you'll need a narrower aperture between f/11 and f/16, an ISO between 100 and 400, and a really fast shutter speed of about 1/2000. Remember, though, that between the aperture and shutter speed there's a limited amount of light getting to the sensor, so if your first shots turn out a little dark then you'll need to turn the ISO up to compensate.
Take your Instagram to the next level with these food photography tips Skylum's infographic is a great way to get a handle on the relationship between these three vital settings, and it's packed with practical photography tips as well. To get the best results, though, you're going to have to practise and also experiment with different settings to find out what works well for you and your camera. So head to the full infographic and get snapping.
Related articles:


